
Multi-material printing stopped being a luxury this year. Four-slot and eight-slot feeders are mid-range now, and the first thing most people reach for is a map — which makes sense, because a map is one of the few objects where colour is information rather than decoration. Water should be blue because it is water.
Then you slice it and the estimate says 840 g for a model that should take about a hundred.
This is about where that goes, and about the one thing that decides whether multicolour on a map costs you sixteen grams or most of a spool. It is not the number of colours. It is where they sit vertically.
What a colour change costs
Every time the printer swaps filament it has to flush the old colour out of the nozzle, and that flushed material goes into a purge tower or straight on the floor. The numbers are well established: the default flush on a Bambu X1C or P1S is around 8 g per swap, tuned setups get it to 2–5 g, and ordinary multicolour prints end up using 15–25% more filament than their single-colour version.
That 15–25% figure is where the trouble starts, because it is an average across normal models and a map is not a normal model.
The thing nobody tells you: it depends on the vertical arrangement
A slicer does not swap colours because your model has six of them. It swaps when a single layer contains more than one. Colours stacked on top of each other are nearly free. Colours side by side on the same layer cost you a swap every layer, both ways.
So the question for any map is: for how many of the print's layers does more than one colour appear?
I stopped guessing and measured it. I exported a real model as 3MF, unzipped it, read every vertex, and bucketed them by layer at 0.16 mm.
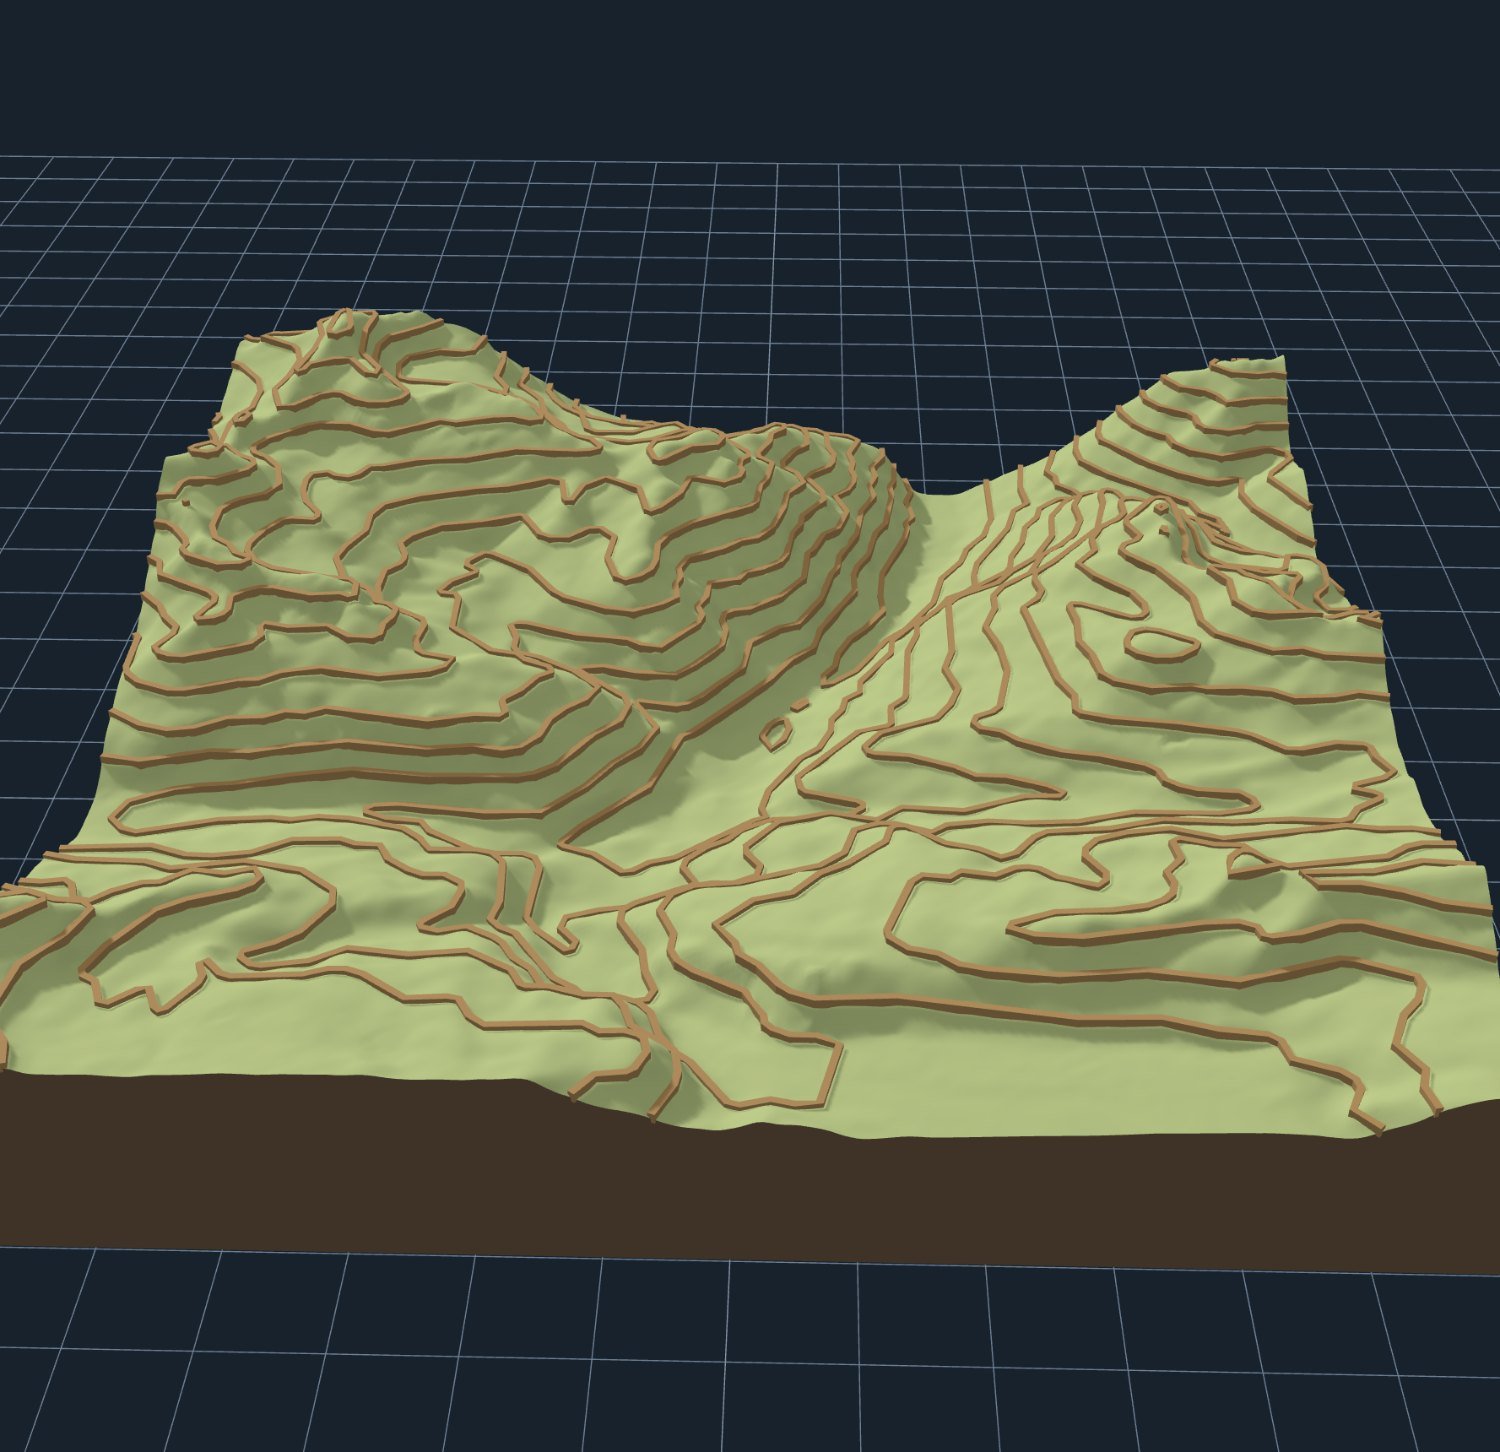
Forty-five layers hold both colours. The contour part only appears in 19% of the print, which is better than I expected — and the reason is worth understanding, because it generalises.
Contours sit at fixed elevations. At a 200 m interval across a 2,656 m range there are about thirteen rings, each ribbon standing 0.6 mm proud, which is roughly four layers each. Thirteen rings times four layers is about fifty. The contour colour is not smeared through the print; it is concentrated in thin bands.
The arithmetic, and it is not kind
Forty-five layers sounds survivable. It is not, because each of those layers costs two changes — into the contour colour and back out again.
| Scheme | Tool changes | Purge at 8 g | Purge at 2 g |
|---|---|---|---|
| Snow line: one colour above a height | 2 | 16 g | 4 g |
| Contour lines in a second colour | 90 | 720 g | 180 g |
| Land cover in four colours | hundreds | unprintable | very poor |
Seven hundred and twenty grams. Most of a kilogram spool, flushed into a tower, to add contour lines to a plate that itself uses somewhere around a hundred grams. Even tuned down to 2 g per flush you are spending 180 g of waste on a 100 g model.
The land cover row I have not measured and will not pretend to have. But the mechanism is not in doubt: land cover is a thin skin draped over the ground, so it follows the terrain surface and therefore spans the same full height range the terrain does. Several cover colours plus terrain, all present across nearly every layer, is categorically worse than the contour case rather than a bit worse.
What actually works
Height-band colour changes. A single swap at the layer where you want snow to start costs 16 g and looks superb. Everything above the line is one colour, so there is no interleaving and nothing to flush repeatedly. This is the one multicolour technique on a map that is free, and it does not even need a multi-material printer — any slicer will insert a colour change at a layer.
Print the colours as separate plates and inlay them. Export the per-colour STL zip, print water as its own flat piece in blue, print the terrain in grey, and fit them together. No swaps at all, which means no purge at all. More handling, sharper colour boundaries than any single-nozzle method, and it is how the best-looking map prints are actually made.
Tune the flush volumes. If you are committed to multi-material, the default is deliberately generous. Dropping from 8 g to 2–3 g is routine, and flushing into infill or into a sacrificial object rather than a tower recovers some of what you spend. There are good guides to this. It makes a bad case merely expensive.
Go dark to light, not light to dark. Purging grey out of a nozzle to print white takes far more material than the reverse. Ordering the swaps so each colour is darker than the last reduces how much flush each one needs.
The honest summary
Multicolour is wonderful on maps and the marketing is not wrong about that. But the cost is not proportional to the number of colours, it is proportional to how often colours share a layer — and on a terrain model that number is set by geometry you did not choose.
Before you commit to a multi-material map, ask one question: are my colours stacked, or side by side? Stacked is nearly free. Side by side, on a model with two hundred-odd layers, will cost more filament than the object.
If you want one thing to try, make it the snow line. One swap, sixteen grams, and it makes the height legible without a single label. There is more on that in the Everest piece. And if you are weighing up a big print at all, tiling it changes the economics of every failure too.